【画像付き】ubuntuにVSCodeをインストールする方法
Ubuntu18.04はVSCode(Visual Studio Code)をクリックだけでインストールすることが出来ます。
この記事ではインストール手順を画像付きで説明します。
VSCodeインストール手順
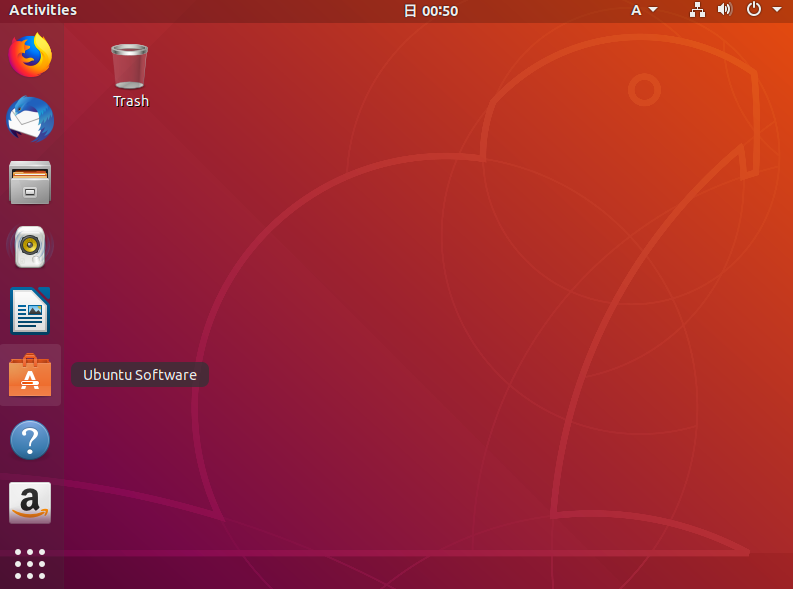
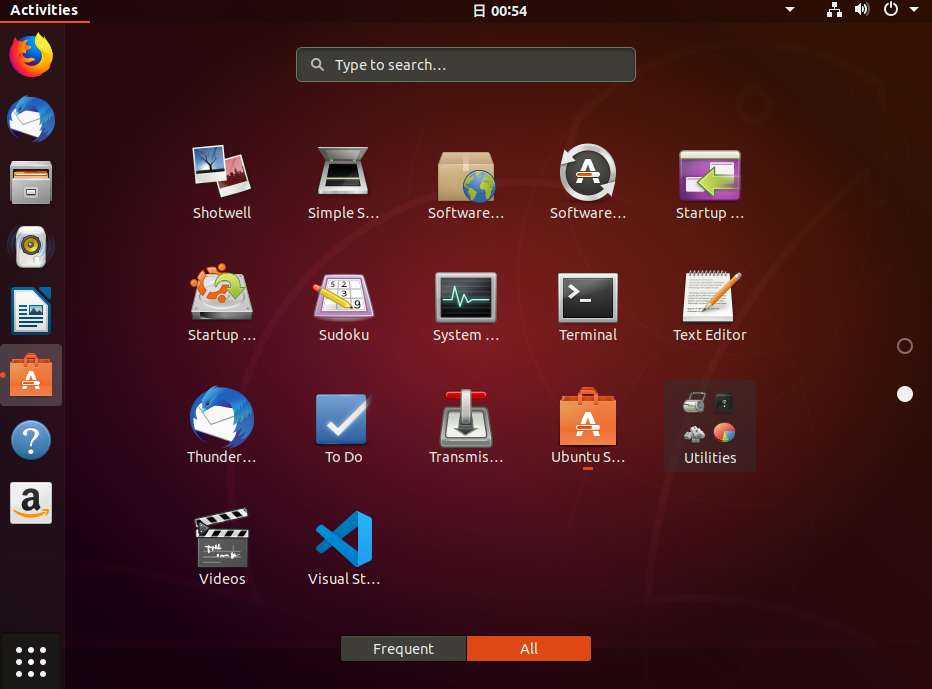
- 左側のバーにある"Ubuntu Software"をクリック
2. 次に"code"と検索窓に入力して、下の方にある""Visual Studio Code"を選択。
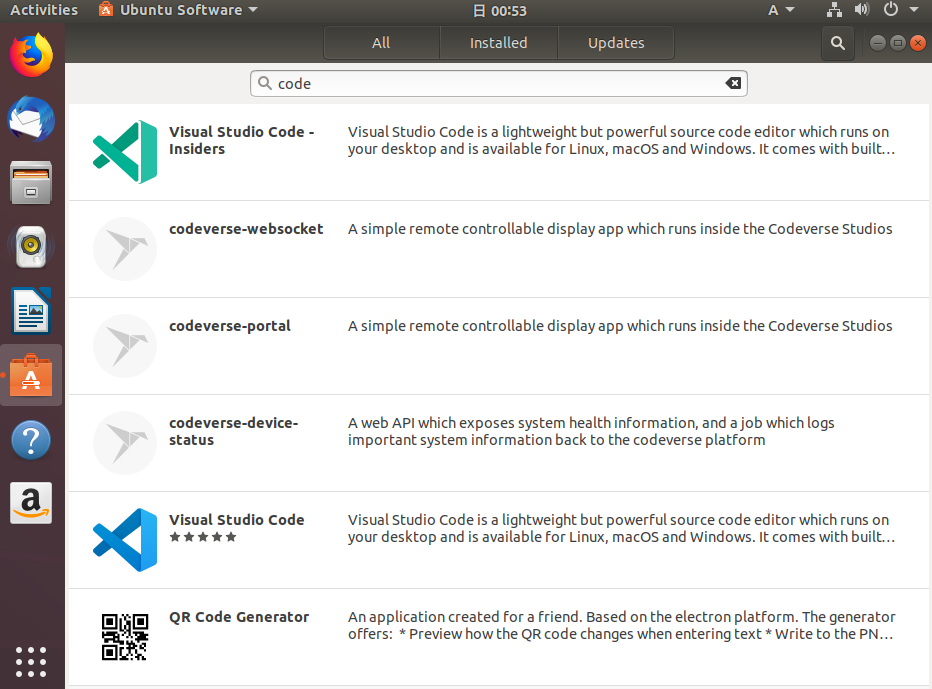
※1番上に"Visual Studio Code insiders"というものがありますが、これは新機能を利用した拡張機能をテストしたいというユーザー向けのものらしいです。insiders版もこれから説明する方法と全く同じ方法でインストール出来るので気になる方はインストールしてみましょう。
参考サイト:https://forest.watch.impress.co.jp/docs/news/741944.html
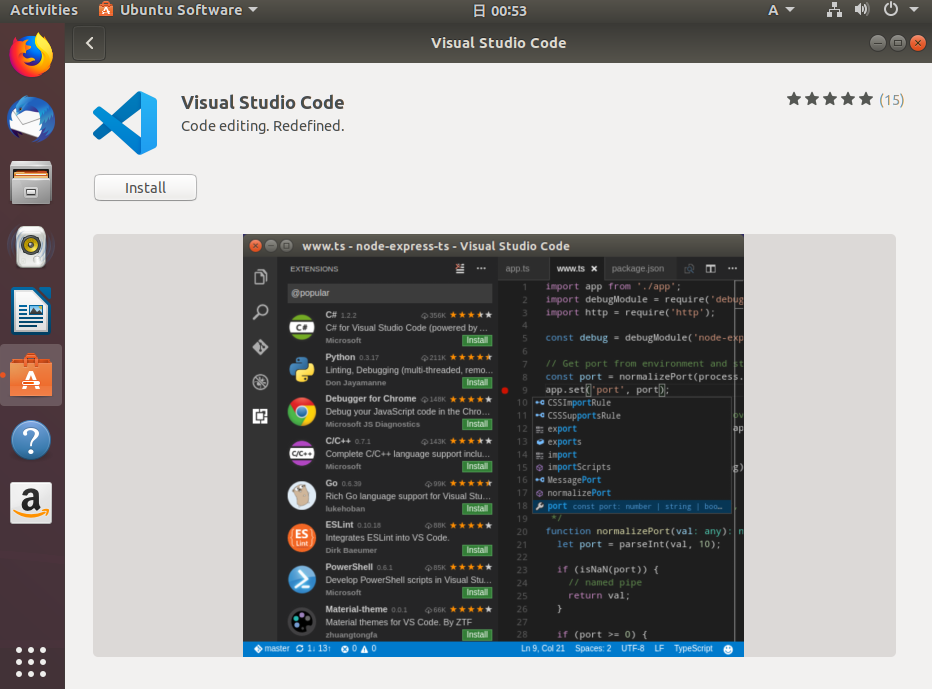
3. この画面が表示されたら、installをクリック
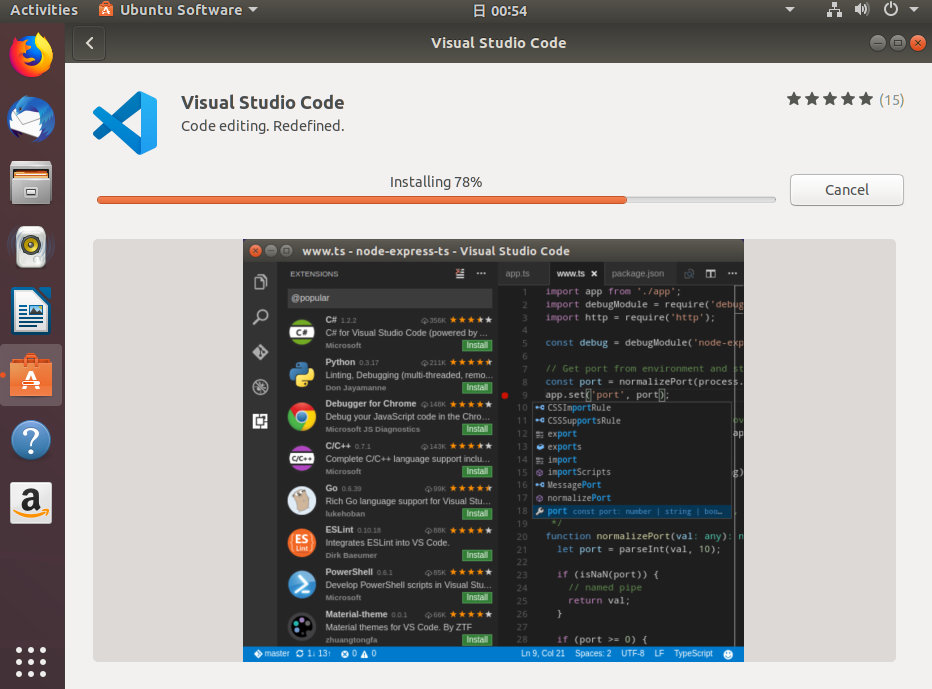
4. installが完了するまで待つ
5. installが完了してからアプリ一覧を見てみるとVSCodeがいます。
以上でインストール作業は完了です。
終わりに
これで快適なコーディングライフを送ることが出来ますね。
VSCodeでたくさんコード書いていきましょう。